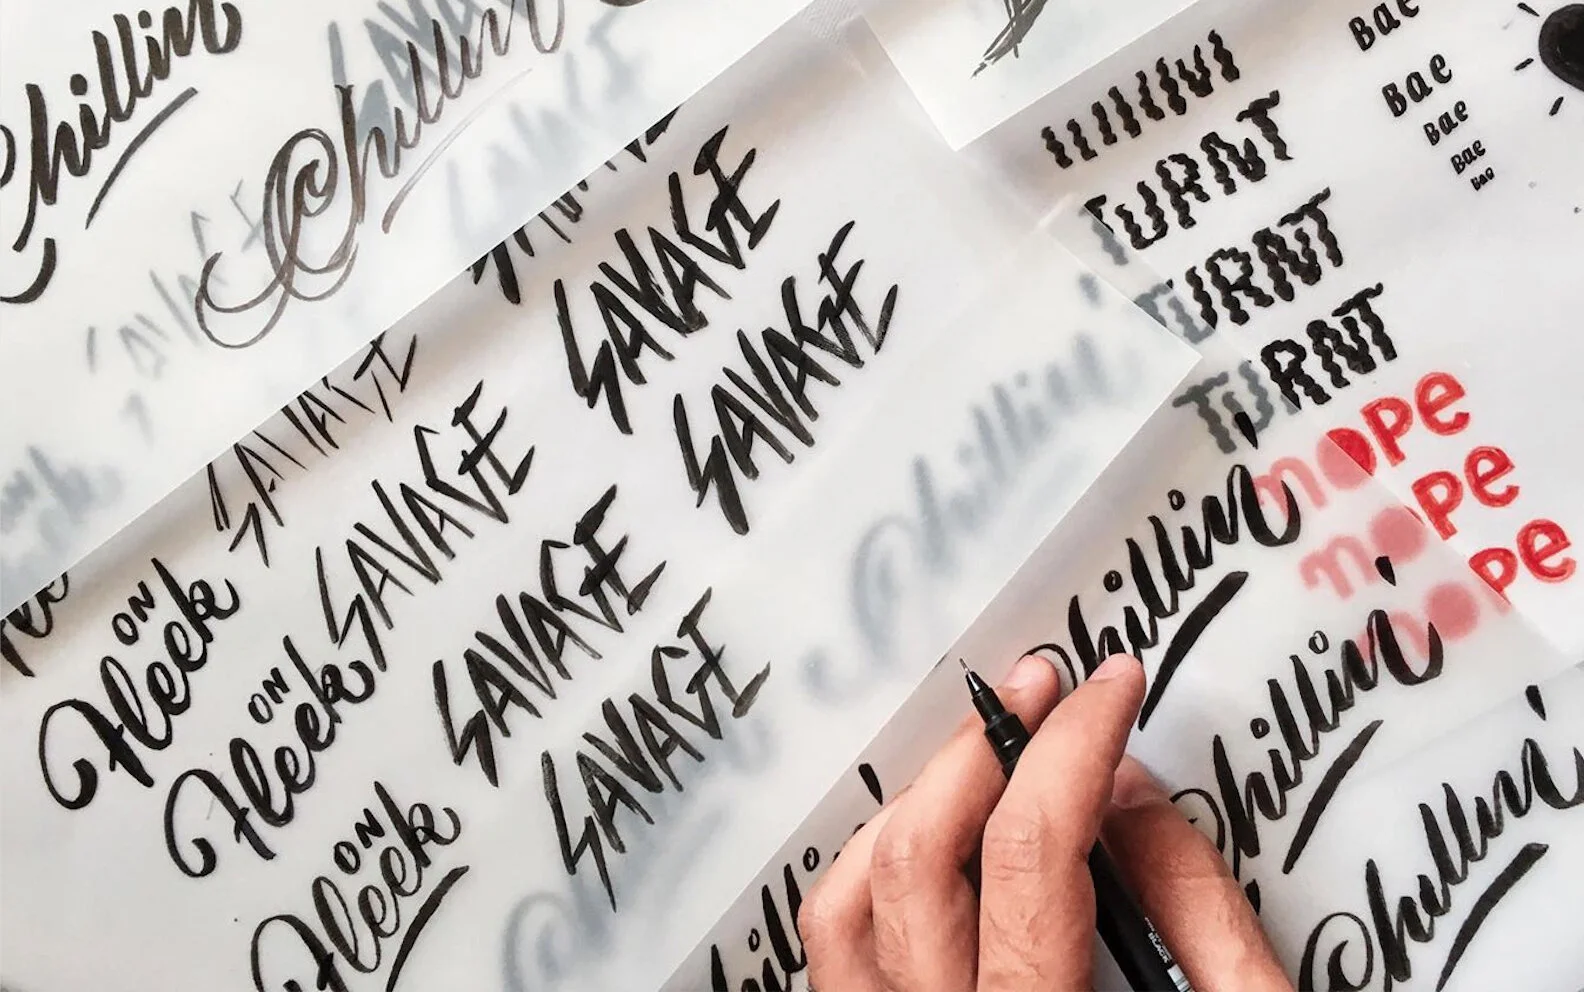
Animation is something that I always liked to do. When I was a kid I discovered stop motion animation which blew me away with the endless possibilities and I ended up falling in love with the process. Later on, I discovered that I could merge this passion I had with the lettering work I was doing. This was all before I had the iPad or any sort of graphic tablet so I would draw each frame of the letters using tracing paper and then would have to scan everything. After that I had to digitally retouch and adjust each frame so I could animate it later. Even though it was a lot of work and very time consuming it was all payed off when you got to see your work get life in the end.
Now with the iPad and Procreate I can do what I was doing in a much short amount of time. For this tutorial I’ll teach you how to animate a simple script word from beginning to end using an iPad with Procreate and a bit of patience. The apple pencil is not required but highly recommended.
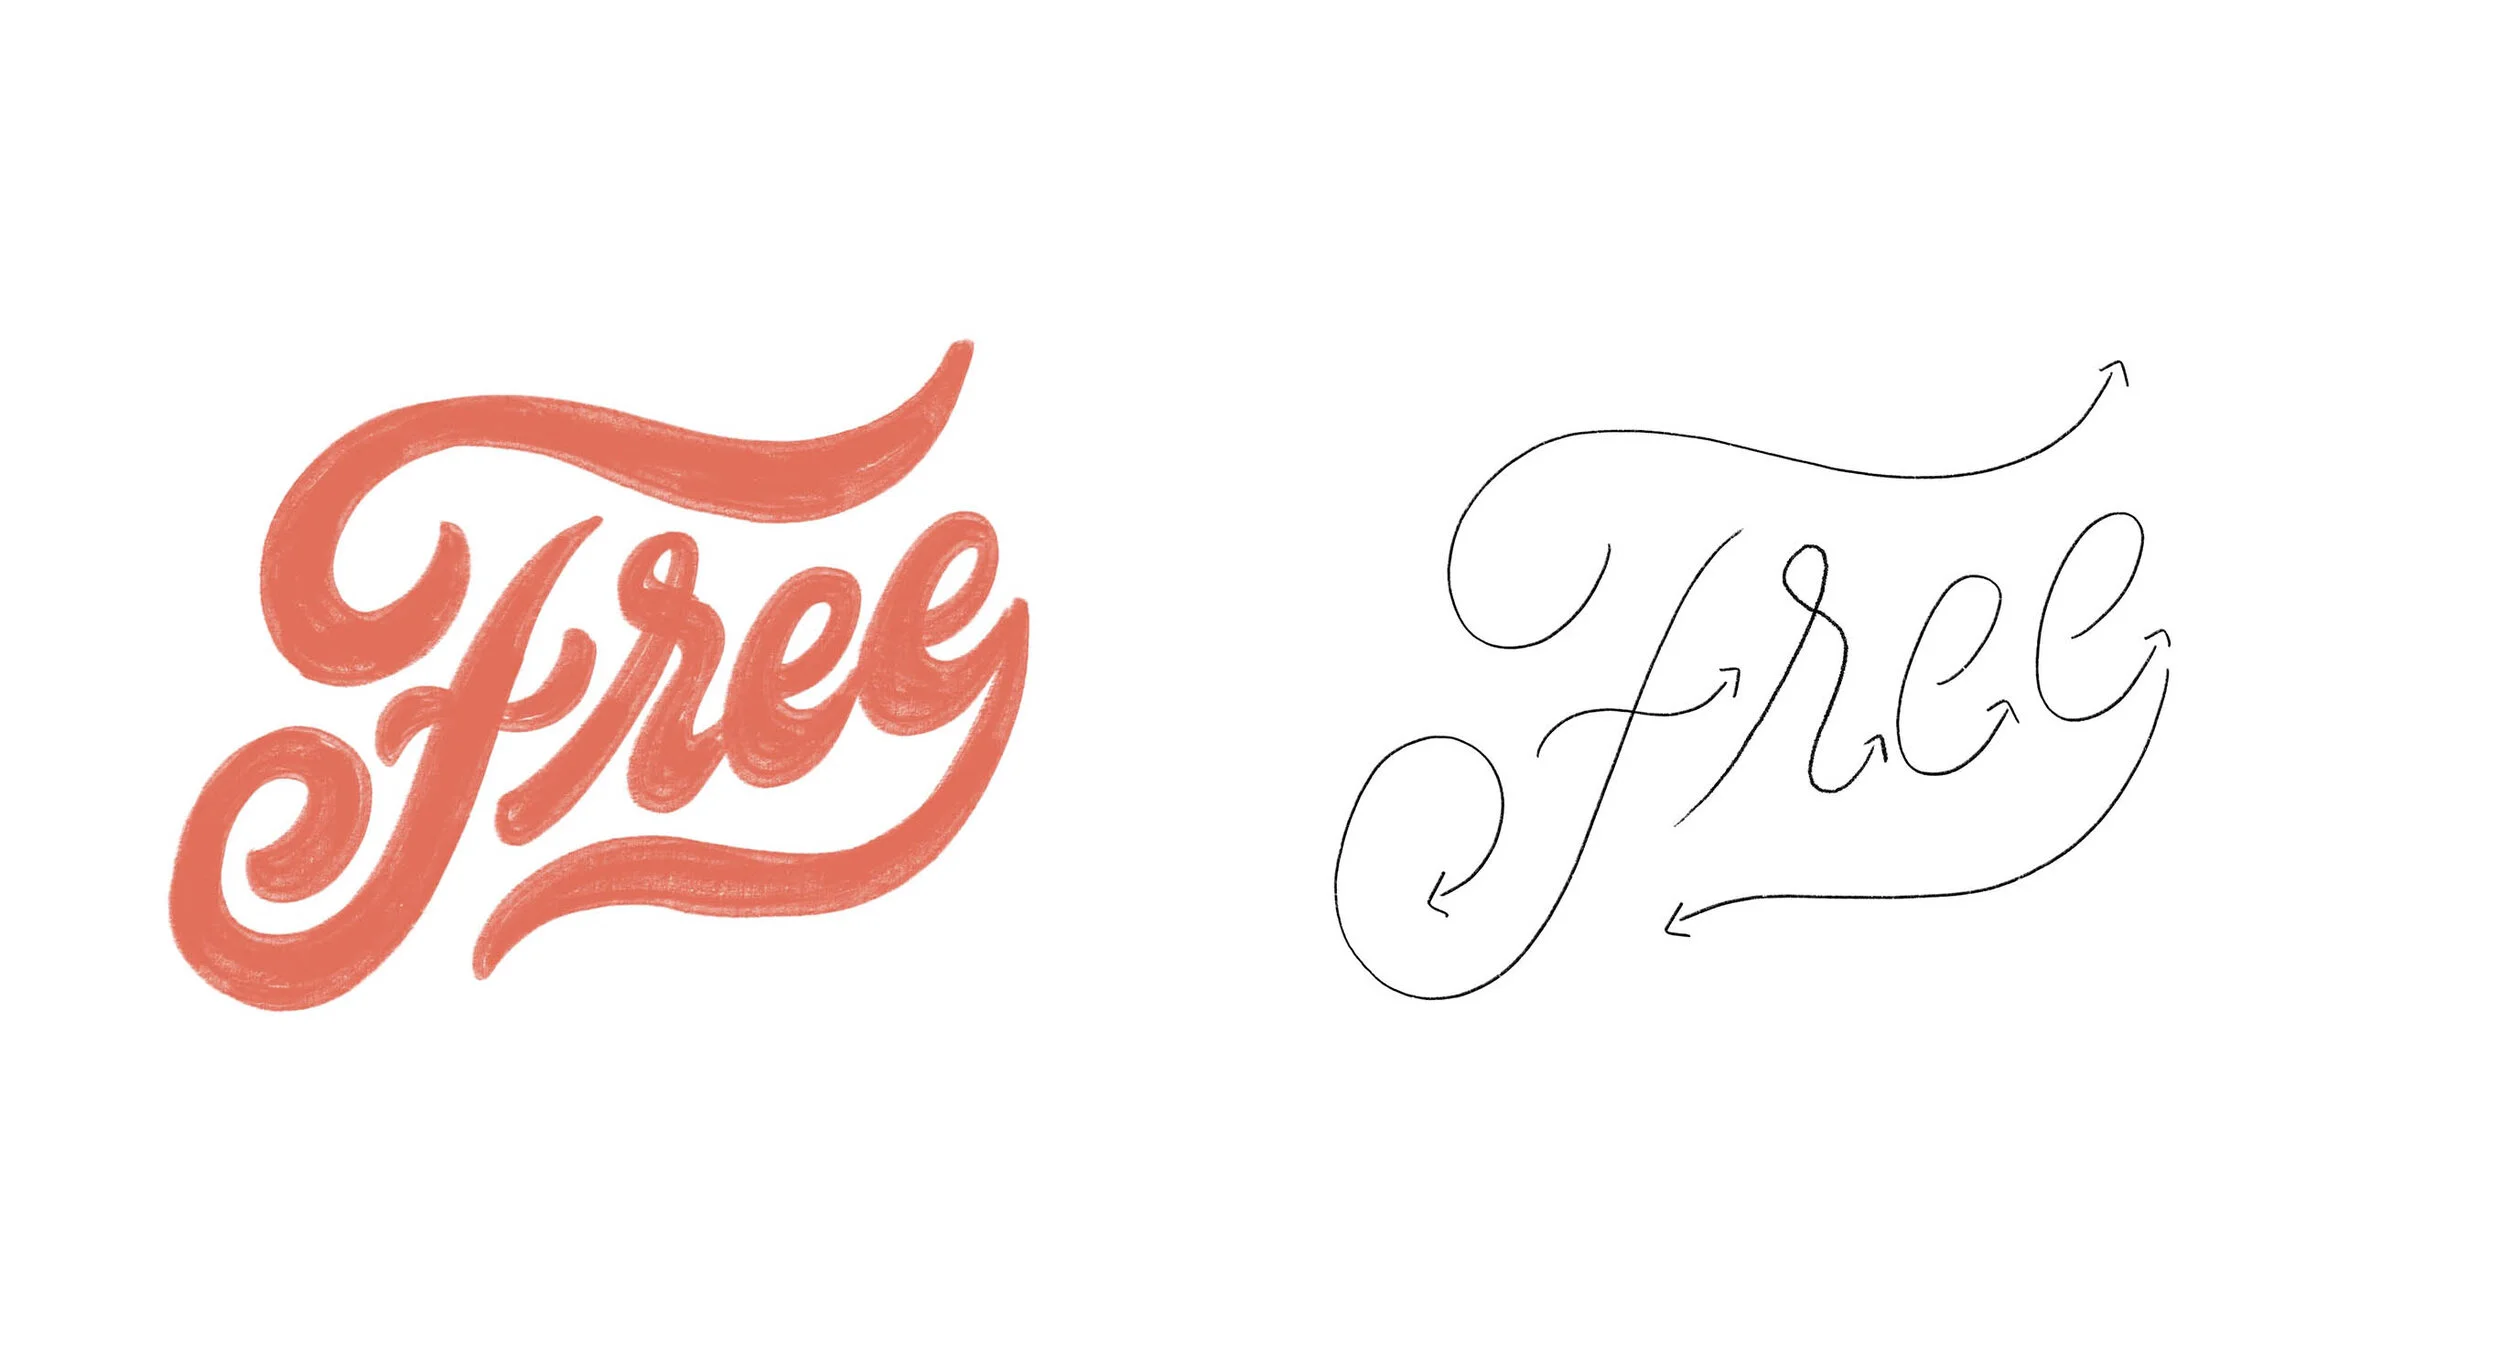
The first step is to pick a word (or a set of words) to animate. Keep in mind that the longer it is the more work and time it will require. As an example I’ll animate the word “Free” and I would suggest you start with something small if it’s your first time doing something like this. I like animating script words because they flow better but you can do this with any style. It is important to draw the final word first so you can use it as a guide for your animation. Create a new layer and draw your word here.
Now we’re ready to begin the fun part. To start you need to activate the “Animation Assist” tool. What it does is to add a timeline and gives you the ability to see the previous frames with lower opacity (called onion skinning). This is basically the digital version of using tracing paper. To enable it you need to tap the wrench icon at the top, then go to canvas and toggle on “Animation Assist”.
The thought process now is to imagine how you would normally draw each letter. You usually start from the top and make descending movements. In case you need help figuring out the flow of the word, a good trick is to divide it into different strokes and then use this as your guide.
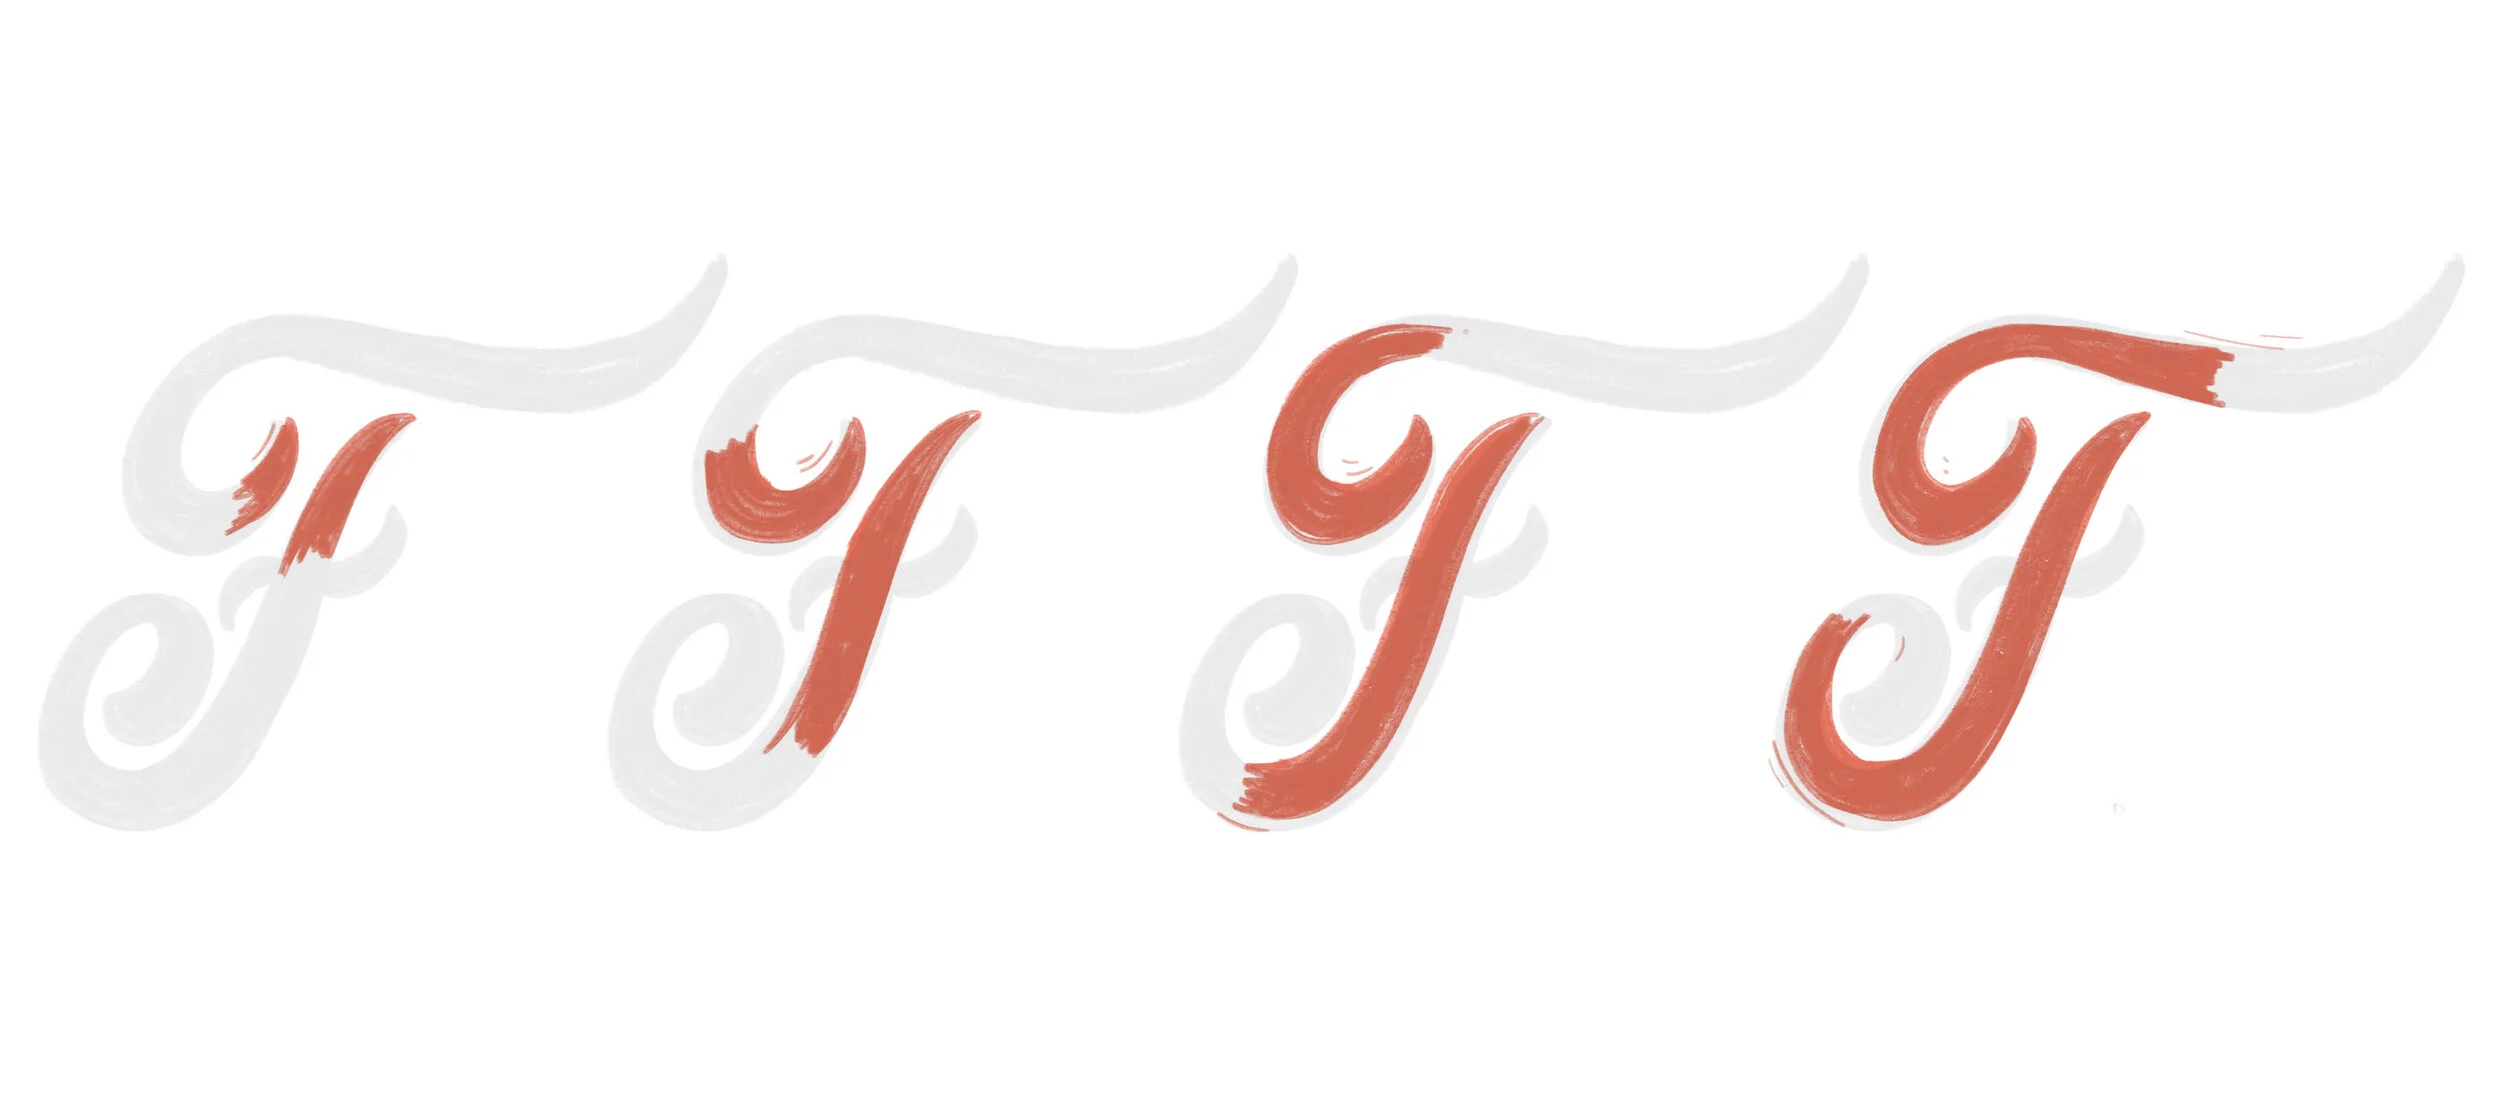
Start by drawing the first section of the first letter. I recommend around 4-6 frames for each letter but of course it will depend on the complexity and how smooth you want the animation to be. I like to leave the incomplete side a little rough so it looks like it’s actually being drawn.
On the next frame you need to draw again the same thing you made on the previous frame but add a new section. Don’t worry too much about keeping your lines in the exact same place as the previous frame. The small differences end up giving a lot of character and uniqueness to the final animation. It just shows it was done by a human and not a robot!
The process is basically this! It will require some patience because you will end up repeating the initial frames a lot of times but I promise it will be worth it in the end. Once you get in the flow you will find this whole process really therapeutic and fun. The onion skin feature only shows a maximum of 13 frames, so if you use more than that, you’ll have to move the frame with your finished word forward so you always see it.
If you don’t want to draw the same parts over and over again you can create a loop of the finalised letters (3 frames for each so it isn’t static) but it will complicate your timeline a bit so Procreate won’t be the best option for this (I like to use Photoshop). You can also duplicate the previous frame instead of creating a new one but your animation will lose the wiggly/hand drawn effect.
When you reach the end just draw the complete word 3 times and let those frames repeat for as long as you wish. Now you can add some extra elements to make your animation flow and look even better. I like to incorporate small lines outside some parts of the letters to accentuate a curve or other parts of the design. 4 frames are more than enough to create this effect. Start with a small line on the first frame and play with the movement on the next frames.
If you want to loop your animation you have a bunch of options. You can make it ping pong (meaning the animation will move backwards once it reaches the end); you can repeat the same animation process but start erasing parts from the letters; you can make the letters fade; etc. There are so many fun possibilities you can do with animation transitions that my recommendation is to experiment! For this one I started drawing the letters closer together until they’re were just a ball that disappears. I used 10 frames to make this transition.
To export it just tap the wrench tool again, go to Share and save to as an animated GIF or a MP4 video. Usually I stick with 12 or 14 frames per second but it depends on how fast you want your loop to be. This entire animation has 40 frames which makes just 3 seconds of animation.

There’s just so many things you can do with animation so let your imagination go wild with it! I always say this but the most important thing is to experiment and to have fun with it. Let me know down in the comments if you have any questions or suggestions for a future tutorial!